 Deskstar
Set up business hours
Tell Deskstar when your team is working so response timers only count those hours.
Business hours tell Deskstar when your team is working. Response timers can then count only those hours, so a customer who writes at midnight doesn't put you in breach before anyone has started work. Setting them up takes about five minutes.
Why they matter#
Business hours are used in three places:
- SLA policies can count their response and resolution targets only inside these hours. A policy picks which schedule to use, and each target chooses whether to follow it. See the article "Set up SLA policies".
- Live chat uses your default business hours to decide when to show visitors that you're away, and when you'll be back.
- Reports can measure response times in business hours as well as in plain clock time.
A policy with no schedule counts around the clock, 24 hours a day, every day.
Your default schedule#
Every workspace starts with a schedule called Default Business Hours: Monday to Friday, 09:00 to 17:00, in your workspace's time zone. If that matches how you work, you're already set up. If not, change it or add your own.
Go to Settings → Business Hours.
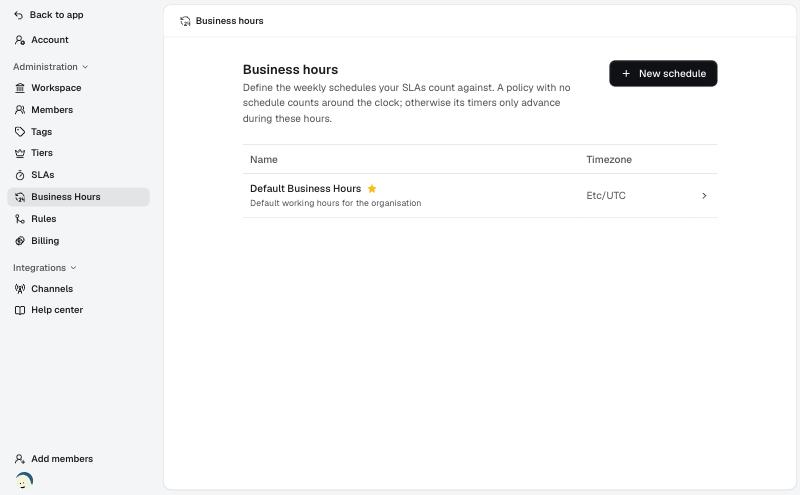
The star marks the default schedule. It's the one Deskstar uses wherever you haven't chosen one yourself.
Create a schedule#
You can have more than one schedule, for example one for each support team or region.
- Click New schedule.
- Enter a name, such as "UK support hours", and an optional description.
- Choose its time zone. It starts as your workspace's time zone.
- Tick Make default if this should be the default, and leave Active ticked.
- Click Create schedule.
A new schedule starts with Monday to Friday open from 09:00 to 17:00, and Saturday and Sunday closed. Change it to match your working week.
Set the weekly hours#
Click a schedule to open it.
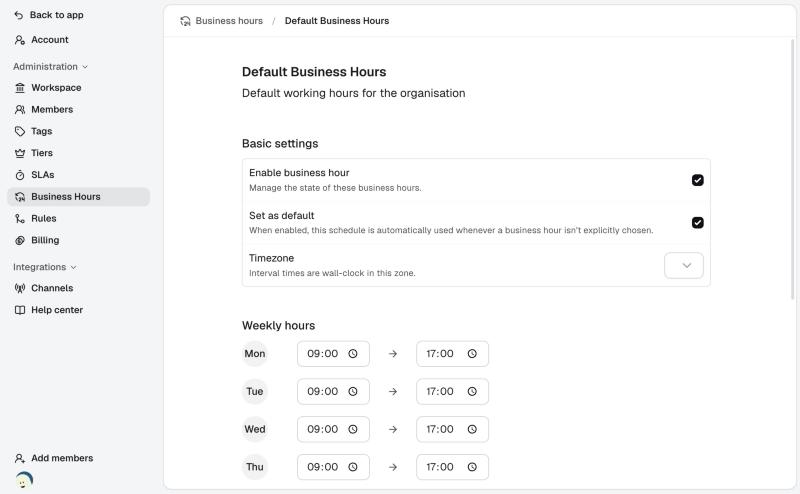
Under Basic settings you can:
- Switch the schedule on or off with Enable business hour
- Make it the default with Set as default. Only one schedule can be the default, so choosing a new one replaces the old one.
- Change its time zone. The opening and closing times are the clock times in this zone.
Under Weekly hours, each day has a round button with its name and a pair of times.
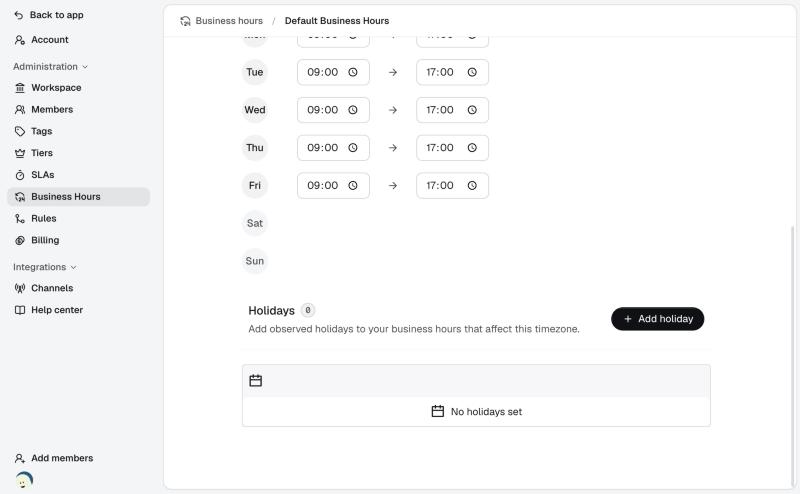
- Change the opening and closing times for a day by clicking the time and typing a new one. It saves when you click away.
- Click the round day button to close that whole day. Click it again to open it. Closed days are shown in grey.
You can click the schedule's name or description at the top of the page to rename it.
Add holidays#
Days when you're closed for a holiday shouldn't count towards your response times. Scroll to Holidays and click Add holiday.
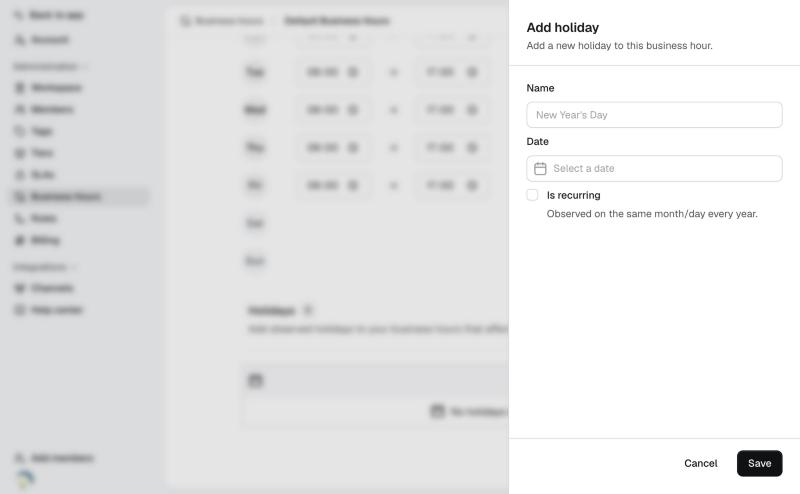
Enter a name, such as "New Year's Day", choose the date, and tick Is recurring if you observe it on the same day every year. Then click Save.
Holidays belong to one schedule. If you have schedules in different countries, add each country's holidays to its own schedule. To change or remove a holiday, use Edit or the bin icon next to it.
How it affects your response times#
When an SLA target is set to follow business hours, its clock only runs while the schedule is open. For example, with a 4-hour first response target and the default schedule:
- A customer writes at 16:00 on Friday. One hour of the target is used by 17:00.
- The clock is stopped over the weekend.
- It starts again at 09:00 on Monday, and the target ends at 12:00 on Monday.
If a holiday falls on that Monday, the clock waits until Tuesday at 09:00.