 Deskstar
Set up Live Chat
Add the chat widget to your site, make it yours, choose how visitors are asked for an email, and chat with signed-in users as themselves.
Add a chat widget to your website or app so customers can message your team without leaving the page. Every conversation arrives as a docket you can reply to from Deskstar. Setup takes about ten minutes.
How it works#
You create a chat widget in Deskstar and paste one snippet into your site. A round launcher button then appears on every page that carries the snippet. When a visitor sends a message, Deskstar opens a docket for the conversation, and your reply from the docket appears in the widget straight away.
Each conversation is one docket. A new chat is titled New conversation at first, and Deskstar gives it a proper title once there is something to summarise.
Your workspace has one chat widget. It can run on as many pages and sites as you like.
Set it up#
-
Create the widget
Go to
Settings → Channels → Live chatand click Create widget. Deskstar generates your keys. The widget stays off until you enable it, so you can set everything up first.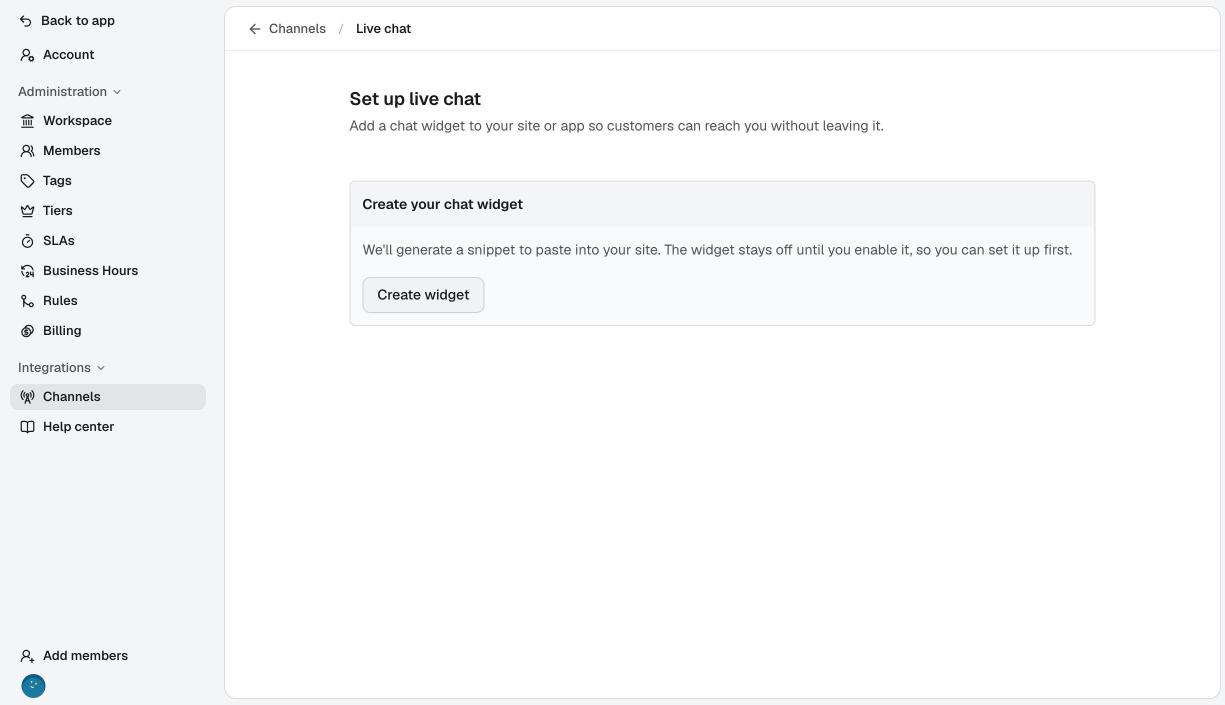
Settings → Channels → Live chat, before a widget exists. -
Add the snippet to your site
Copy the snippet from the Install section and paste it before the closing
</body>tag on every page where the widget should appear.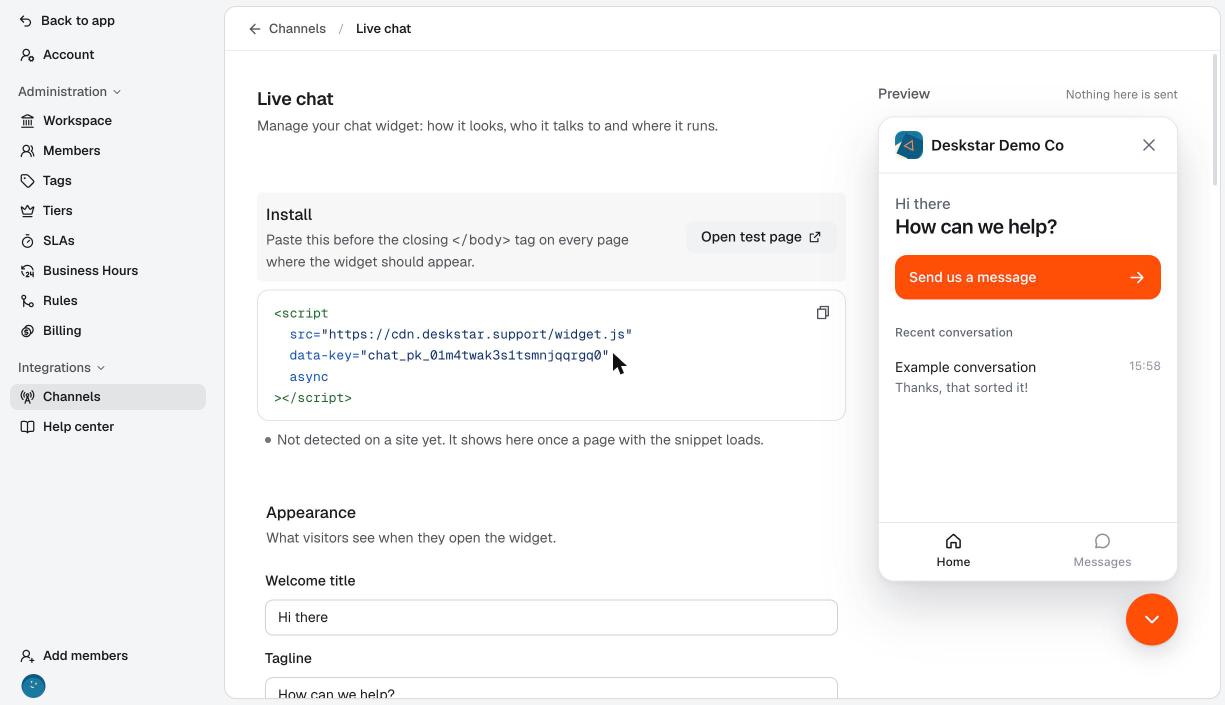
The snippet already carries your widget's key. The preview on the right shows how the widget will look. <script src="https://cdn.deskstar.support/widget.js" data-key="chat_pk_your_key" async ></script>Copy your own snippet from the page rather than typing this one, because it has your key in it.
Once a page with the snippet loads, the line under the snippet changes to Detected on followed by your site's address. That is how you know it is installed.
-
Make it look like yours
Under Appearance, set the Welcome title and Tagline visitors see when they open the widget, your Accent colour as a hex code such as
#FF4F00, and whether the launcher sits at the bottom right or bottom left. The preview updates as you type.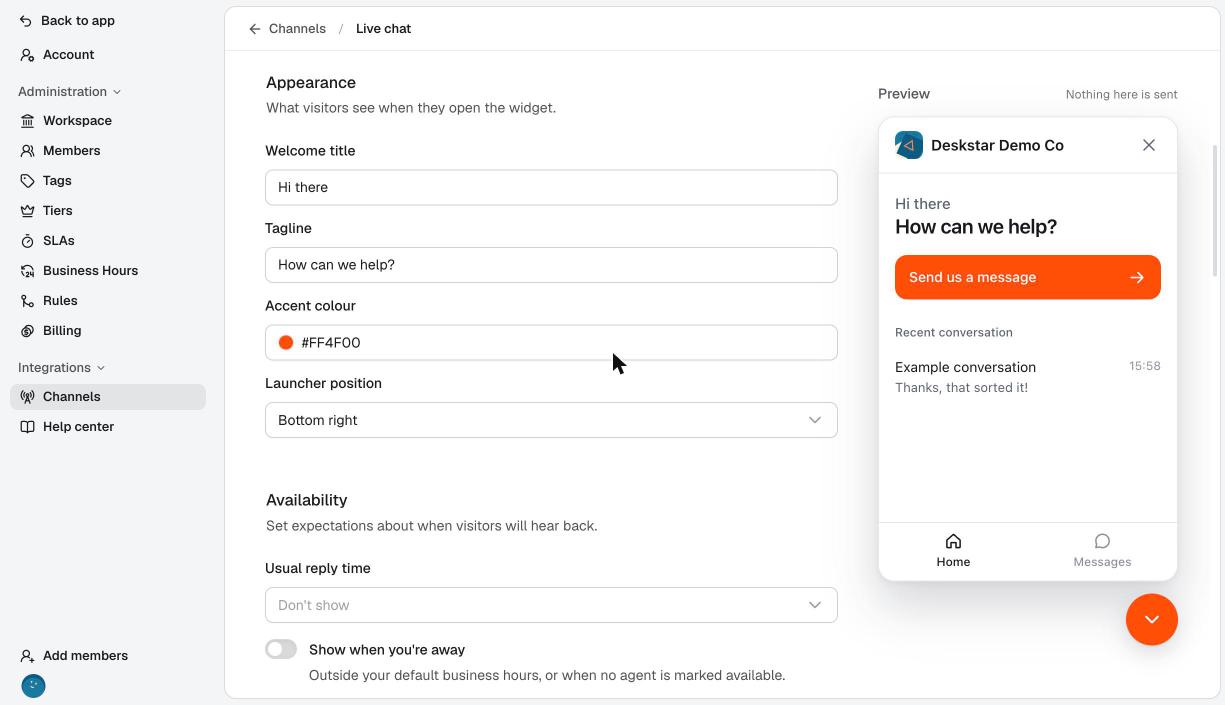
Appearance: welcome text, accent colour and launcher position. -
Decide who chats and how you reach them
Under Availability and Visitors, choose how the widget behaves.
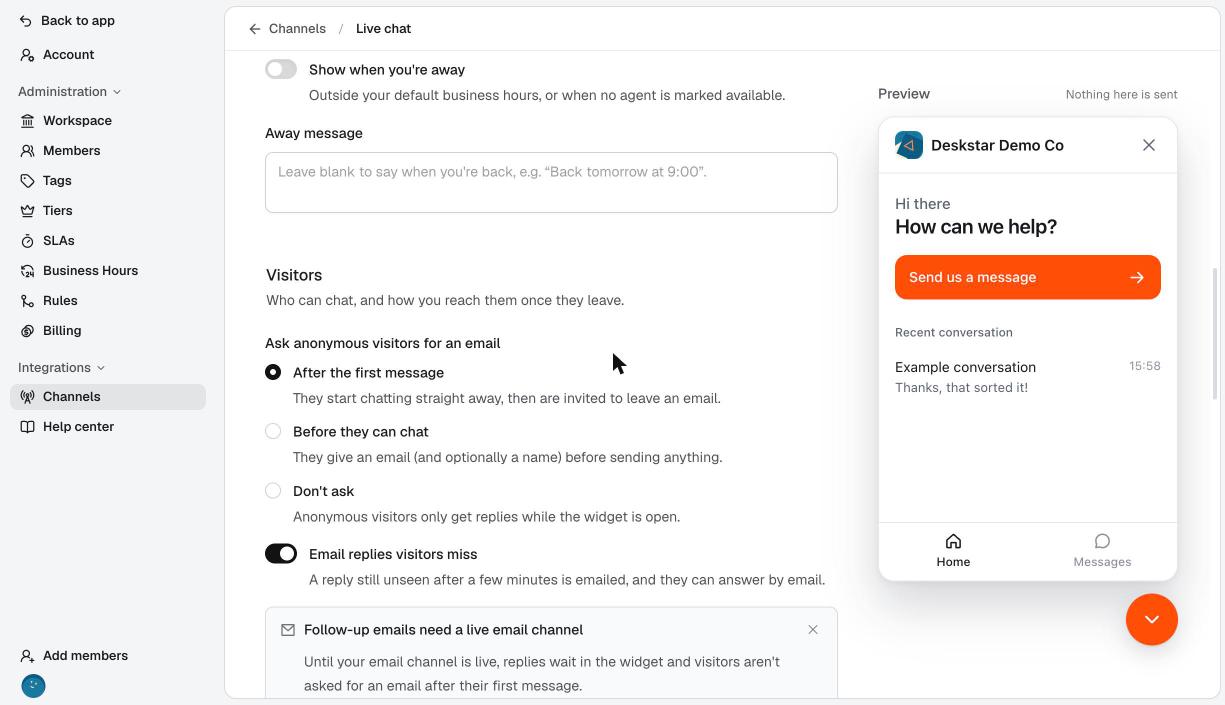
Availability, away message and the email options. - Usual reply time: show visitors a promise such as "Usually replies in a few minutes", or choose Don't show.
- Show when you're away: when switched on, visitors see that you're away outside your default business hours, or whenever no teammate is marked available. Write your own Away message, or leave it blank and Deskstar says when you're back.
- Ask anonymous visitors for an email: choose After the first message (they start chatting straight away, then are invited to leave an email), Before they can chat (they give an email, and optionally a name, first) or Don't ask.
- Email replies visitors miss: a reply the visitor hasn't seen after a few minutes is emailed to them, and they can answer by email.
-
Limit where it runs (optional)
Under Allowed domains, list the sites the widget may run on, separated by commas, for example
acme.com, app.acme.com. Subdomains are included. If you list none, the widget runs on any site that has your snippet.Switch on Signed-in users only if the widget sits behind a login and should be hidden from anyone your site hasn't identified. This needs identity verification, described below.
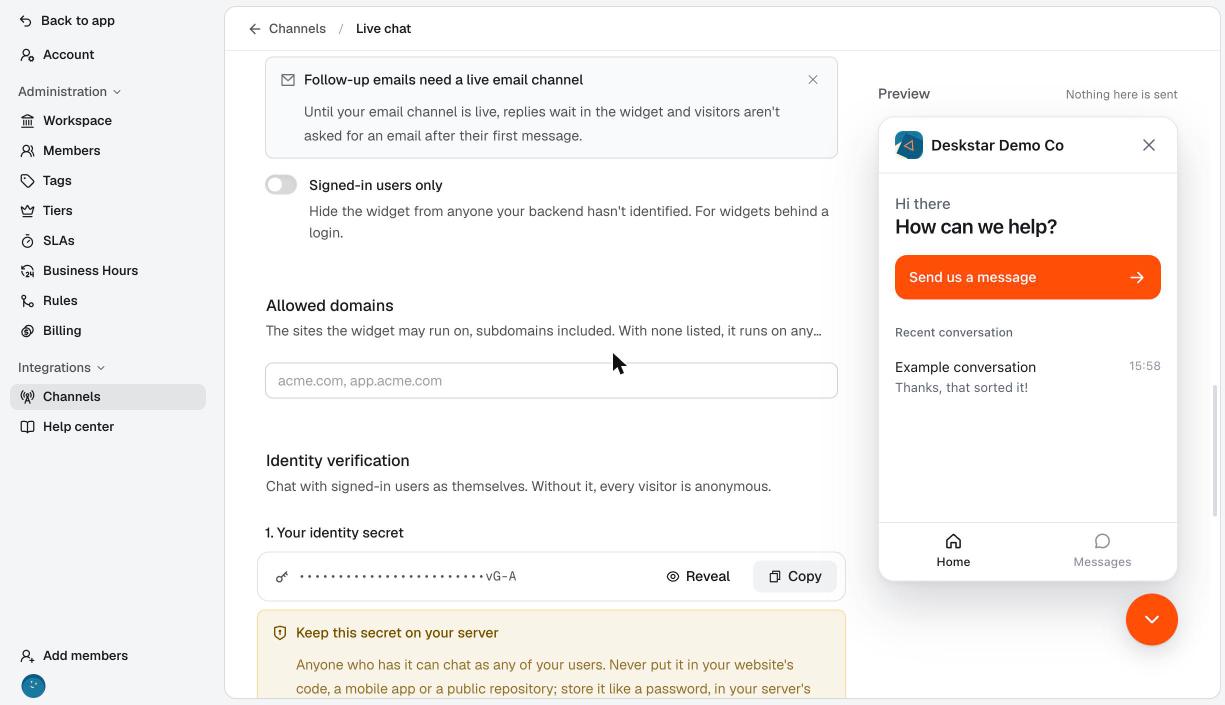
Allowed domains, then the identity secret further down. -
Enable it and send a test message
Scroll to Manage channel and click Enable. The widget now shows on every page that has your snippet.
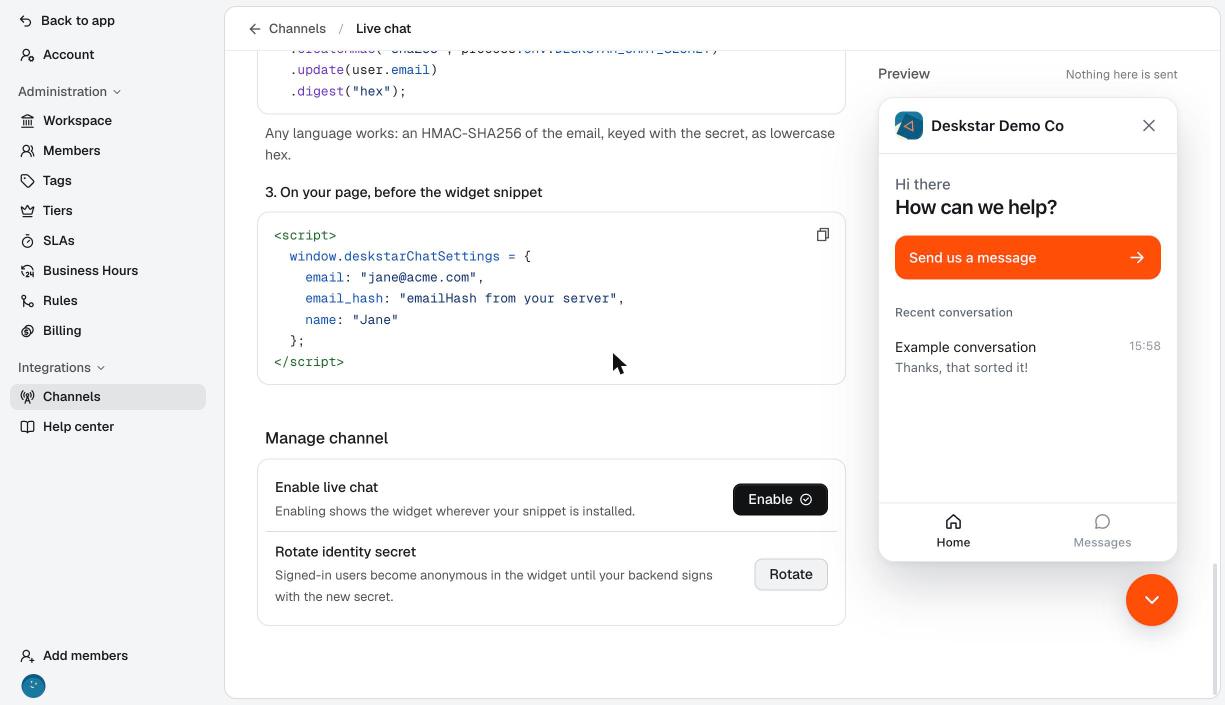
Enable live chat, at the bottom of the page. Click Open test page in the Install section. It opens a blank page with your widget on it. Click the launcher and send yourself a message.
What visitors see#
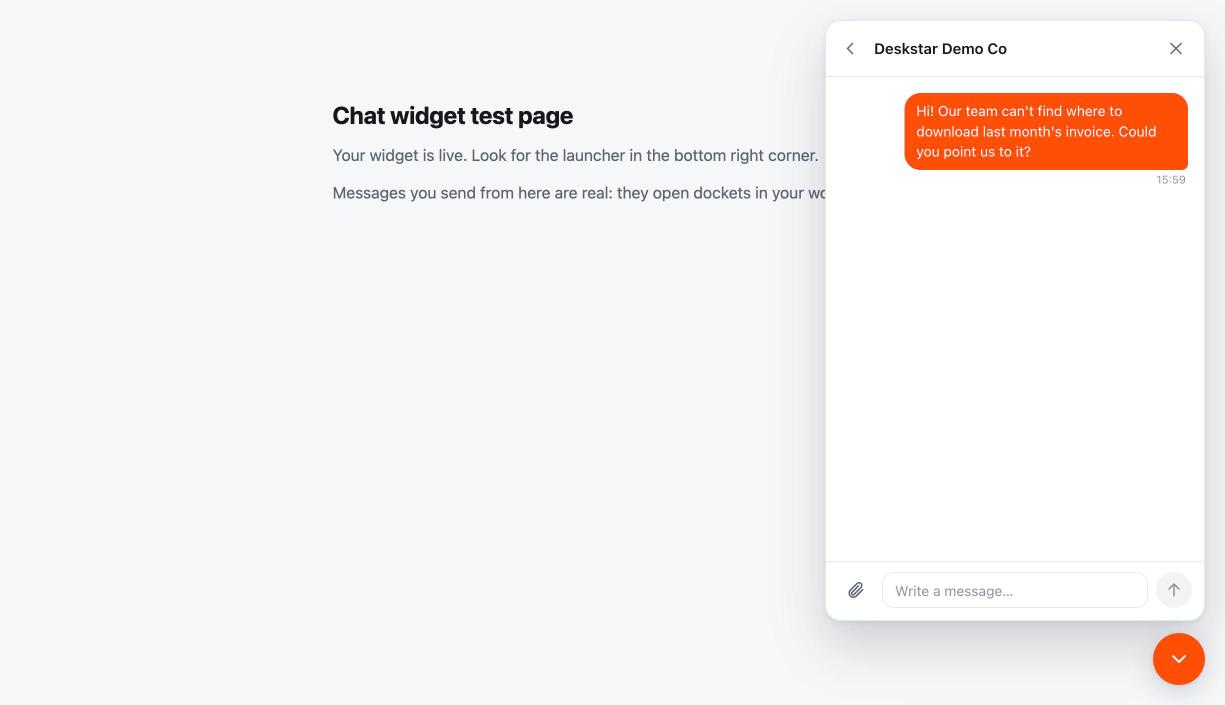
Visitors open the widget from the launcher. The Home tab shows your welcome message and a Send us a message button, plus any earlier conversations. The Messages tab lists all their conversations.
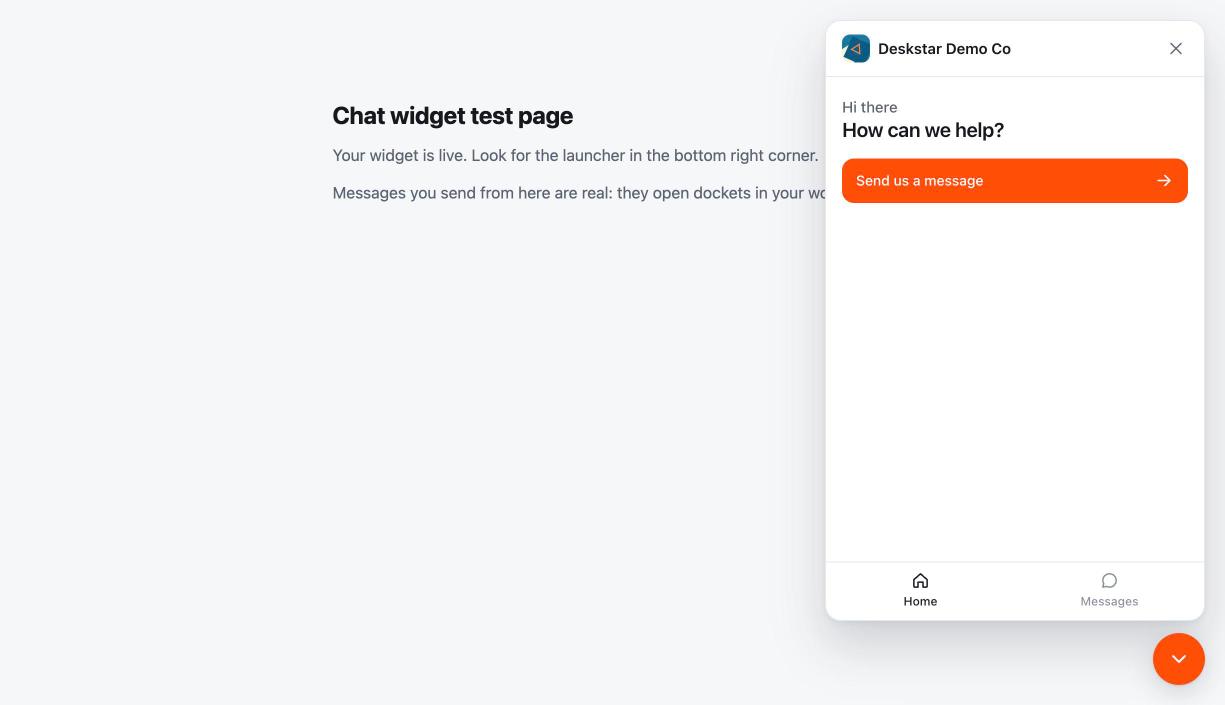
Visitors can attach files of up to 5 MB, three to a message. Images, PDFs, text and CSV files, and Word and Excel documents are accepted.
What your team sees#
The conversation appears as a new docket, marked with Web chat as its source. Anonymous visitors are shown as "Visitor" followed by a short code until they tell you who they are. Reply from the docket as you would for any other channel: assign the docket to yourself and write your reply. You'll see when the visitor is typing, and the visitor sees your reply in the widget as soon as you send it.
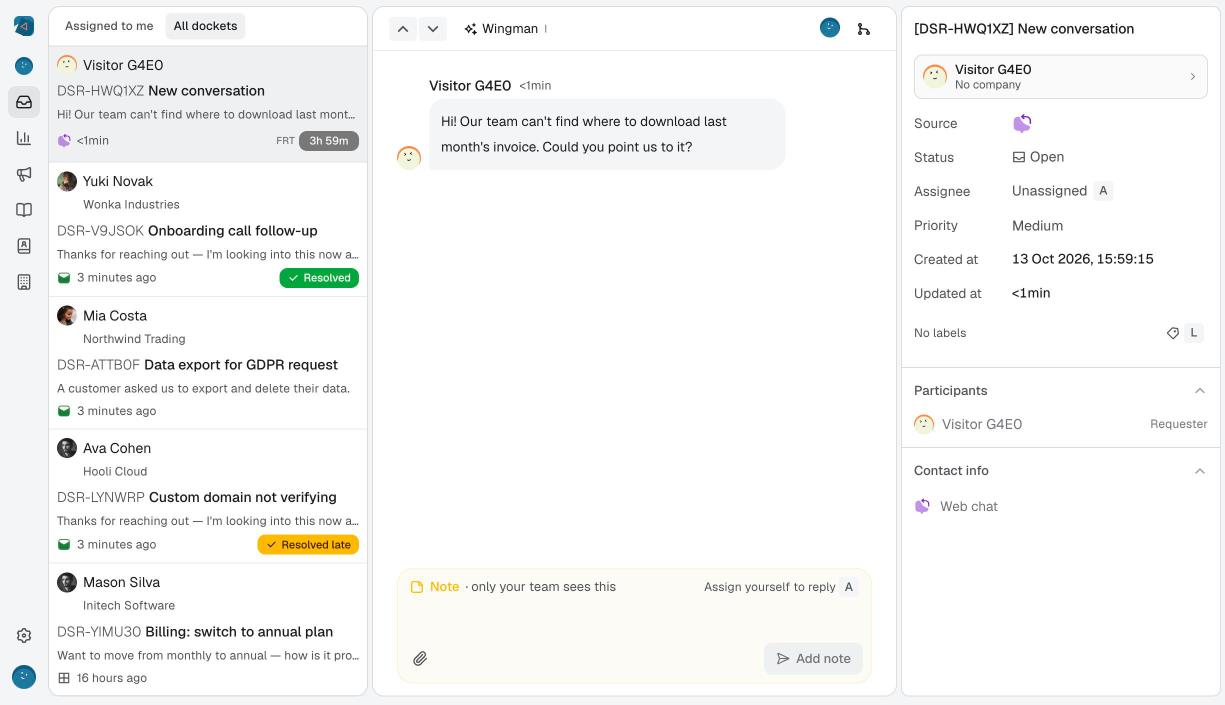
If a visitor types an email address, Deskstar saves it as a claimed email and marks it Unverified. It tells you if that address already belongs to a customer with dockets, but it never links the chat to that customer on the visitor's word alone. For certainty, use identity verification.
Chat with signed-in users as themselves#
Out of the box, every visitor is anonymous. If your site has logins, you can tell Deskstar who is signed in, so their chats attach to the right customer and follow them across browsers and devices. You do this by signing the user's email on your server.
-
Copy your identity secret
On the live chat page, find Identity verification and click Reveal or Copy next to your secret. Store it in your server's environment, for example as
DESKSTAR_CHAT_SECRET. -
Sign the user's email on your server
Compute an HMAC-SHA256 of the user's email, keyed with the secret, as lowercase hex. Any language works. In Node.js:
const crypto = require("crypto");

const emailHash = crypto
  .createHmac("sha256", process.env.DESKSTAR_CHAT_SECRET)
  .update(user.email)
  .digest("hex");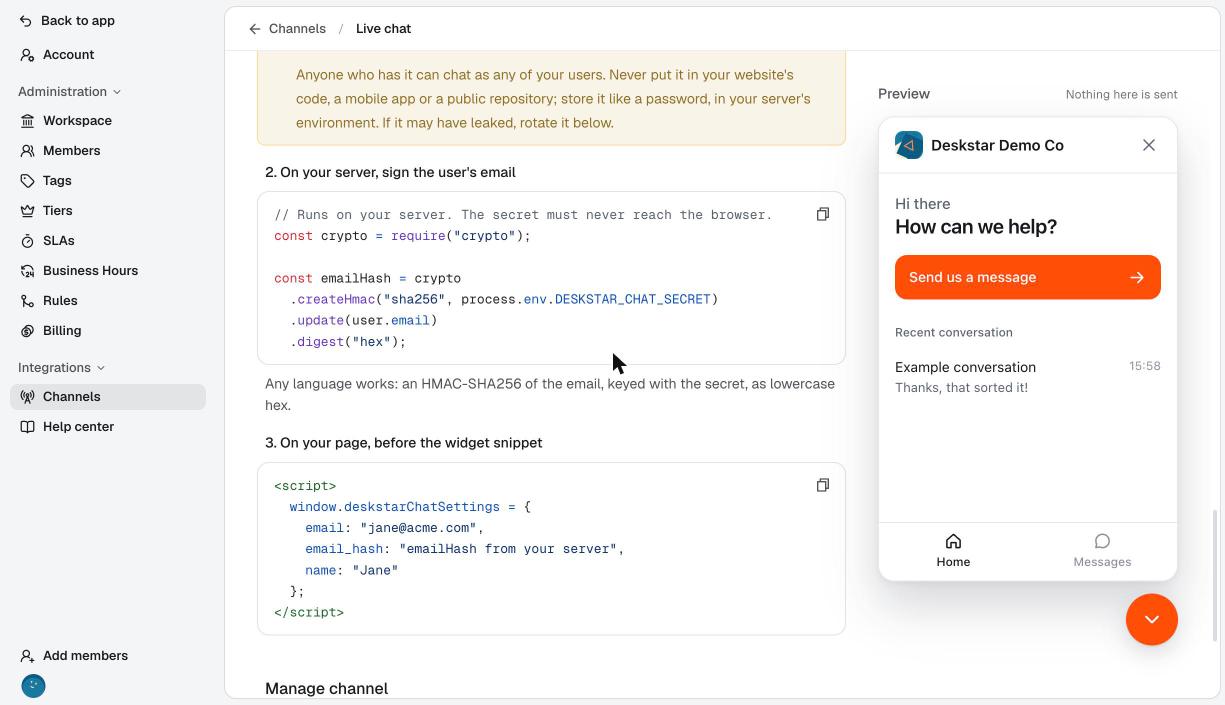
Sign on your server, then pass the result to the page. -
Pass it to the page
On the page, before the widget snippet, set
deskstarChatSettingswith the email, the hash from your server and, if you like, the user's name:<script> window.deskstarChatSettings = { email: "jane@acme.com", email_hash: "the hash from your server", name: "Jane" }; </script>Earlier anonymous chats from the same browser then move to that customer.
If a user signs out on a single-page app, or you need to change who the widget thinks is signed in, call these from your own code:
DeskstarChat.identify({ email, email_hash, name })identifies a user.DeskstarChat.reset()returns the widget to anonymous.DeskstarChat.open(),DeskstarChat.close()andDeskstarChat.toggle()open and close the widget, so you can use your own "Chat with us" button.
Disable it, or rotate the secret#
Under Manage channel:
- Disable hides the widget everywhere it is installed. Conversations already in Deskstar are kept.
- Rotate identity secret creates a new secret. Signed-in users become anonymous in the widget until your server signs with the new one, so update your server straight after.
Troubleshooting#
The widget doesn't appear
Check that the widget is Enabled, that the snippet is on the page before </body>, and that the page's address is allowed. If you listed Allowed domains, the site must be on the list. If Signed-in users only is on, the widget stays hidden until your page has identified the user.
The page says "Not detected on a site yet"
The line updates when a page with the snippet loads. Load one, then refresh the settings page. If it still doesn't change, the snippet may be missing from that page, or blocked by an ad blocker or a strict content security policy on your site.
Visitors aren't asked for an email, or missed replies aren't emailed
Both need a live email channel. Until it is live, replies wait in the widget. Set up your email channel first.
Signed-in users still show as anonymous
The hash must be an HMAC-SHA256 of exactly the email you pass, keyed with the current secret, as lowercase hex. A rotated secret also makes old hashes stop working. Check that deskstarChatSettings is set before the widget snippet runs.
A visitor says their file didn't send
Files can be up to 5 MB, three to a message, and only of the types listed above.