 Deskstar
Set up Your Profile
Add your photo, choose the name customers see on your replies, and pick a theme.
Set the photo and name your team and your customers see, and choose how Deskstar looks for you. It takes two minutes, and everything saves as you go.
Open your account settings#
Click your profile picture at the bottom of the left-hand sidebar and choose Account settings. Everything on this page belongs to you alone. Changes don't affect anyone else on your team.
Add a profile photo#
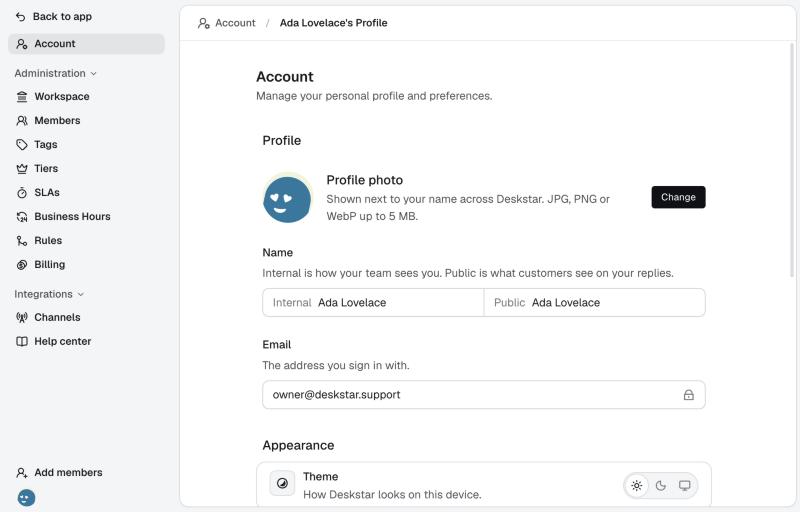
Under Profile photo, click Change and choose a JPG, PNG or WebP image of up to 5 MB. Your photo appears next to your name across Deskstar, for example next to your replies and in the member list.
Choose your two names#
Deskstar keeps two names for you, because your team and your customers don't need the same one.
- Internal is how your team sees you inside Deskstar, for example in the member list and on assignments.
- Public is what customers see. It appears on every reply you send, as "Your public name from Your workspace".
For example, someone whose internal name is "Ada Lovelace (Support, EMEA)" might use "Ada" as their public name. A customer then sees a reply from "Ada from Acme".
Type a new name and click away from the field. A small tick confirms it was saved. There's no Save button.
Your sign-in email#
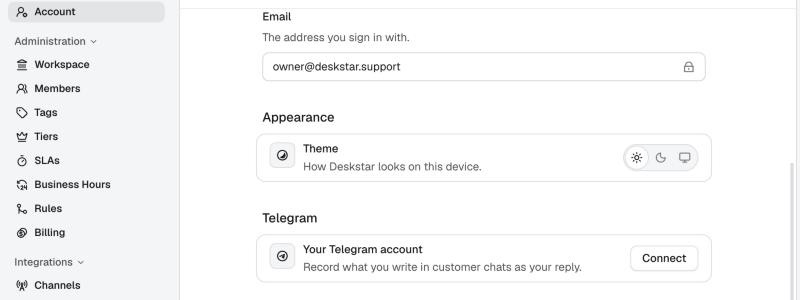
The Email field shows the address you sign in with. It can't be changed here.
This address matters in one more place. Deskstar uses it to recognise you in Slack, so it should match the email on your Slack profile. The article "Connect your Slack and Telegram accounts" explains how.
Choose a theme#
Under Appearance, pick Light, Dark or System. System follows your device's setting. The choice applies to the browser you're using, so you can use a different one on another device.